Building a Deck Made Easy: A Simple Guide for Homeowners
There’s something undeniably satisfying about standing on a deck you’ve built yourself. It becomes more than just an outdoor space—it’s a symbol of craftsmanship, effort, and pride. If you’re a homeowner looking to improve your backyard with a new deck, you don’t need to be a master carpenter or have decades of experience. With the right tools, knowledge, and plan, building a deck is totally achievable—even for a beginner.
Why Build a Deck?
A deck isn’t just a platform of wood planks; it’s a place where memories are made. Whether it’s summer BBQs, lazy Sunday mornings with a coffee, or evening chats under the stars, a deck expands your living space outdoors. It also boosts your property value and adds curb appeal, making it a smart investment as well as a lifestyle upgrade.
Planning Comes First
Before you even pick up a hammer, it’s essential to plan. Ask yourself what you want from your deck. Is it for entertaining guests? Do you need room for a grill, furniture, or even a hot tub? Your intended use will determine the size, location, and design.
Start with a rough sketch. Consider where the sun hits your yard during the day, how it connects with the house, and the type of view you want. Think of safety too—if your yard has slopes or uneven ground, your design will need to accommodate that.
 Check Local Codes and Permits
 Check Local Codes and Permits
Here’s the boring but crucial part: building codes and permits. Every city or municipality has its own set of rules. Some require detailed blueprints; others might just need a simple application. Skipping this step can cost you fines—or worse, force you to tear down your hard work. Call your local building department and make sure you’re covered.
Choosing the Right Materials
Your deck’s longevity depends heavily on the materials you use. The most common decking materials are pressure-treated wood, cedar, redwood, and composite.
Pressure-treated wood is budget-friendly and widely available. It’s treated to resist insects and rot but can warp over time if not maintained. Cedar and redwood look stunning and resist decay naturally, but they come at a higher price. Composite decking is a blend of wood fibers and plastic. It’s durable, low-maintenance, and available in a variety of colors and textures, but it’s also the priciest option.
Your choice depends on your budget, aesthetic preference, and how much maintenance you’re willing to do.
Essential Tools for the Job
You don’t need an entire workshop, but some key tools will make your life easier. These include a circular saw, power drill, tape measure, level, framing square, post-hole digger, and a shovel. Renting some of the heavier tools can help keep costs down. Don’t forget safety gear—gloves, goggles, and hearing protection are must-haves.
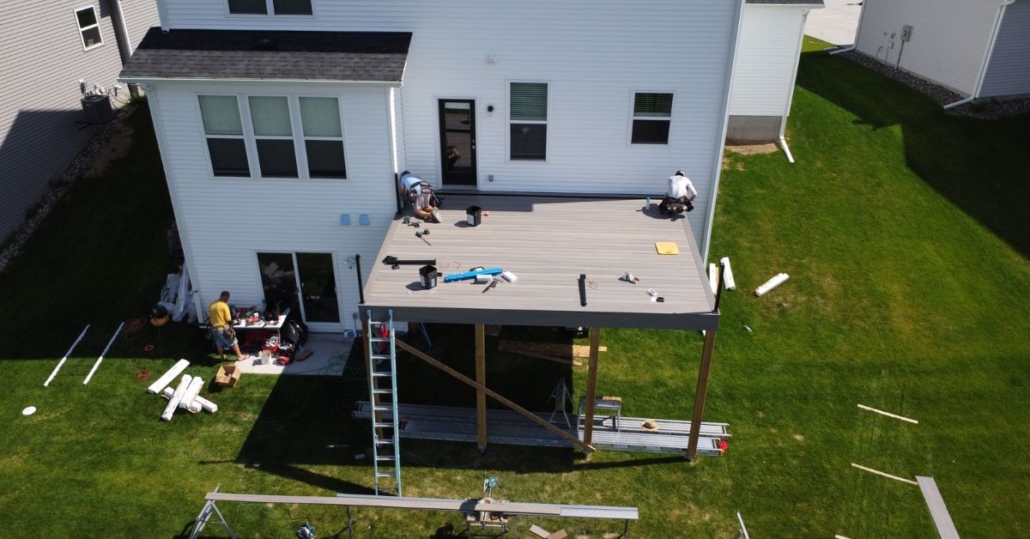
Laying the Groundwork: Foundation and Footings
Everything starts with the foundation. Think of it like building a house—if the foundation isn’t solid, the whole structure is at risk. Start by marking out the perimeter of your deck with stakes and string. Then, dig holes for your footings—these are the concrete piers that will hold your deck posts in place.
How deep should you dig? That depends on your local frost line. In colder climates, footings need to go below the frost line to prevent heaving in the winter. Pour concrete into the holes and insert metal post anchors before it sets.
Framing the Deck
Once your footings are cured and solid, it’s time to build the frame. This is the skeleton of your deck. Start by attaching a ledger board to your house—this acts as the main anchor. Then install the beams and joists, which will support the decking boards. Use galvanized bolts and screws for strength and durability.
Spacing is critical here. Joists are typically spaced 16 inches apart on center, but this can vary depending on your decking material. Use a level and square as you go to ensure everything stays even and straight.
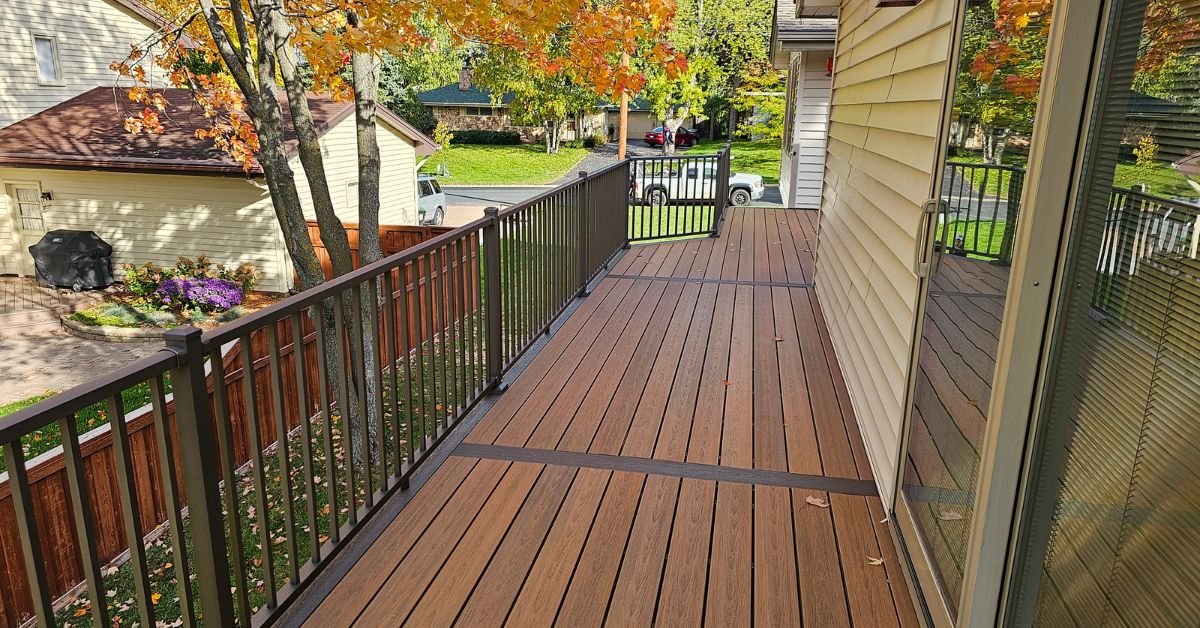
Decking Boards: Where It All Comes Together
Now comes the part where your deck really starts to take shape. Begin laying the decking boards perpendicular to your joists. Leave a small gap between boards to allow for drainage and expansion. Use decking screws rather than nails—they’re less likely to back out over time.
For a polished look, consider using hidden fasteners. These create a smooth surface with no visible screws or nails, but they do require a bit more work upfront.
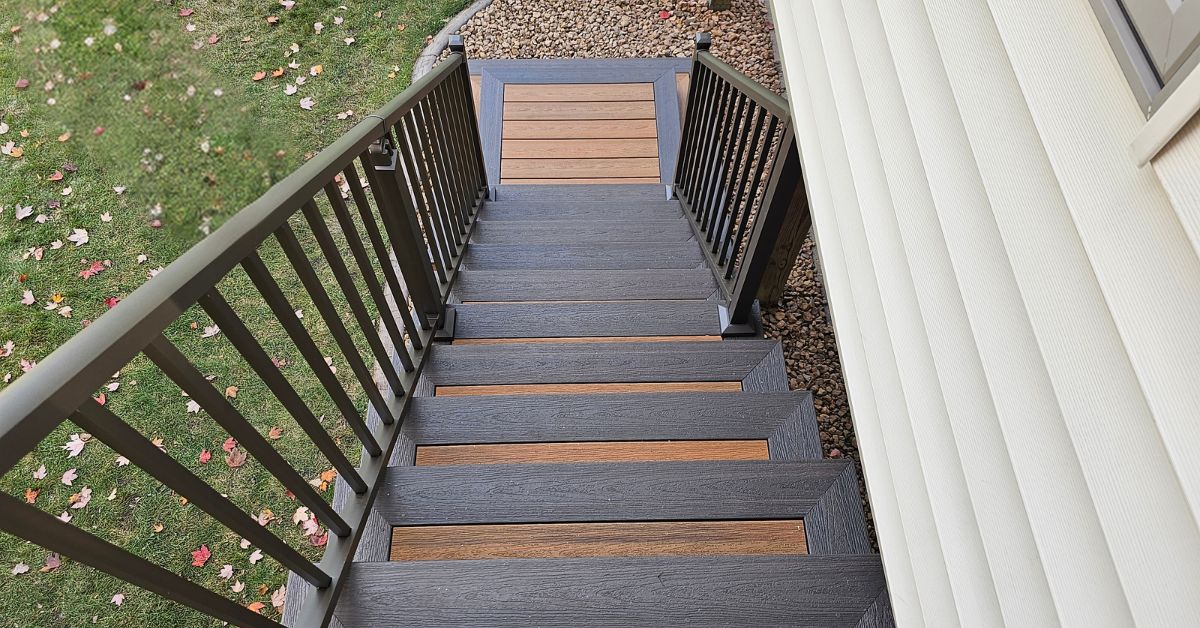
Railings and Stairs
Depending on the height of your deck, you may be required to install railings. These aren’t just for safety—they add character too. Choose between wood, metal, or even glass panel systems. Whatever you pick, make sure the spacing between balusters follows local code—usually no more than 4 inches apart.
Building stairs is a bit trickier, but very doable with a bit of math. You’ll need to calculate the rise and run to make sure each step is uniform and safe. Pre-cut stair stringers can be a lifesaver if you’re not comfortable cutting your own.
Finishing Touches: Staining and Sealing
 Finishing Touches: Staining and Sealing
You’re almost there! But before you invite people over, it’s time to protect your investment. Let your deck “settle” for a few weeks before staining—it gives the wood time to dry and accept the finish more evenly. Choose a weather-resistant stain or sealant that enhances the wood’s grain and repels water.
Apply the stain using a brush, roller, or sprayer. Make sure the weather forecast is clear—staining in damp or humid conditions can lead to blotchy results. One good coat is often enough, but a second layer may be needed for extra durability.
Maintenance: Keeping Your Deck in Top Shape
Like any part of your home, a deck needs some TLC to stay looking great. Sweep off debris regularly, clean it with a deck cleaner once or twice a year, and check for loose boards or nails. Re-stain or reseal every couple of years, depending on your climate and how much wear and tear it gets.
Common Mistakes to Avoid
Even experienced DIYers can fall into traps. One major mistake is underestimating the importance of drainage. Water is your deck’s worst enemy—make sure there’s adequate slope and spacing to allow water to run off. Another common error is skipping structural reinforcement. Always overbuild rather than underbuilds—it’s your safety at stake.
Cost Breakdown: Budgeting Your Project
Building a deck can be as economical or extravagant as you want. For a basic 10×10 pressure-treated wood deck, expect to spend around $1,500–$2,500 in materials if you DIY. Composite or larger decks can easily push that number to $5,000 or more. Don’t forget to account for tools, hardware, and any permit fees.
When to Call a Pro
Let’s be real—not every homeowner has the time, tools, or confidence to tackle a deck build. If your design is complex, elevated, or requires intricate structural engineering, calling a contractor, like Barefoot Construction, might be the smart move. It may cost more, but it could save you time and potential headaches.
Enjoying the Fruits of Your Labor
Once your deck is finished, you’ve earned the right to enjoy it to the fullest. Add some comfy furniture, maybe a few potted plants or string lights, and turn it into your personal oasis. Fire up the grill, invite friends over, or just kick back with a drink and admire what you’ve accomplished.
Building a deck might seem intimidating at first, but like any big project, it becomes manageable when broken down into steps. With a solid plan, the right materials, and a bit of sweat equity, you’ll not only have a beautiful deck—you’ll have the satisfaction of saying, “I built that.”


