Winterize Your Deck: A Step-by-Step Guide

As the chilly winds of winter approach, it’s time to think about safeguarding your outdoor spaces—particularly deck winterization. If you want to keep it looking pristine and structurally sound through the winter months, winterizing it is a must. Cold weather, moisture, and snow can cause significant damage if your deck isn’t properly prepared. Let’s dive into this step-by-step guide to ensure your deck survives the winter in top shape!
Understanding Deck Winterization: Why It’s Essential
Before we jump into the “how,” let’s talk about the “why.” Winter can be brutal for decks, especially those made of wood. Cold temperatures, snow accumulation, ice, and moisture can lead to a host of problems, such as cracking, moisture damage, mold and mildew growth, and staining or discoloration. As temperatures fluctuate, wooden decks can expand and contract, leading to cracks. Snow and ice that melt and seep into your deck can rot the wood and weaken its structure. Trapped moisture encourages mold and mildew growth, which can make your deck unsafe. Moreover, harsh weather can strip the color from your deck, making it look aged and weathered. Now that we understand the risks, let’s get to the steps of winterizing your deck!
Cleaning Your Deck for Effective Winterization
The first step to preparing your deck for winter is giving it a deep clean. Dirt, leaves, and debris can trap moisture, leading to mold growth and wood rot over the colder months. Start by clearing off leaves, dirt, twigs, and any outdoor furniture. A broom or a leaf blower can be your best friend here. Make sure no dirt gets stuck in between the deck boards. Next, mix some mild detergent with water and scrub the deck with a stiff-bristle brush. This will remove any surface grime, mold, or algae that may have started to grow. If your deck hasn’t been cleaned in a while, consider using a power washer to remove stubborn dirt. Just be cautious not to use too much pressure, as it could damage the wood.
Inspecting Your Deck for Winterization Needs
Once your deck is clean, it’s time to inspect it for any existing damage. Winter will only make things worse, so addressing these issues now is crucial. Look for any nails that have popped out or boards that seem loose. Replace or secure them before winter hits. Inspect the surface of your deck for any cracks or splinters that might worsen during the freeze-thaw cycle. Sand down splintered areas and fill cracks with wood filler. Ensure that the railings are secure, as the added weight of snow and ice can put extra pressure on them, so tighten any loose screws or brackets.
 Sealing Your Deck for Effective Winterization
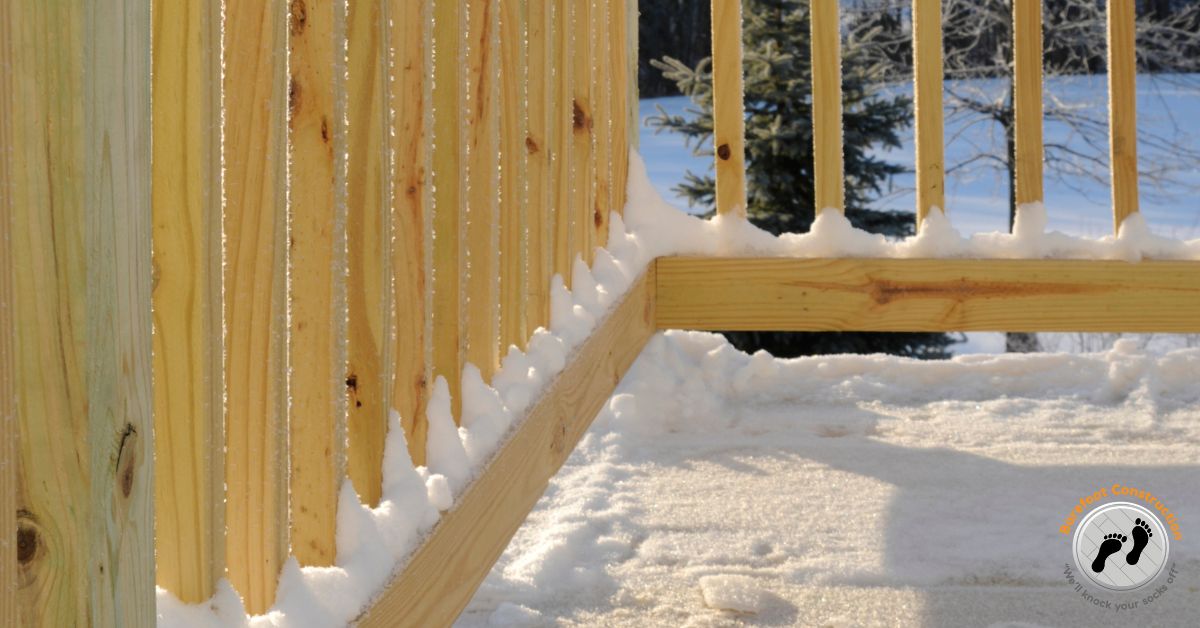 Sealing Your Deck for Effective Winterization
One of the most important steps in winterizing your deck is sealing it. A good sealant will protect the wood from moisture, preventing it from soaking into the boards and causing damage. There are many types of deck sealants available, but for winter protection, choose one that’s specifically designed to block moisture and withstand harsh weather conditions. Waterproof sealants or water-repellent stains are excellent choices. Wait for a dry day when no rain or snow is expected for at least 24 hours. Use a brush or roller to apply the sealant evenly, ensuring it penetrates the wood’s surface. Be sure to cover all areas, including cracks and joints. Give the sealant adequate time to dry before any moisture hits the deck. This usually takes 24 to 48 hours, depending on the product you’re using and the weather conditions.
Protecting Your Deck from Snow and Ice
Even after cleaning and sealing, snow and ice can still pose a threat to your deck. Protecting your deck during winter is just as important as preparing it. One of the best ways to protect your deck from snow accumulation is by covering it with a tarp. You can also invest in a custom-made deck cover for added protection. If covering your deck isn’t an option, be diligent about shoveling snow off your deck. Use a plastic shovel (metal can scratch and damage the wood) and always push the snow in the direction of the boards to prevent damage. While it might be tempting to spread salt on your deck to melt ice, avoid it! Rock salt can be too harsh on wood and may damage the deck’s surface or strip away the sealant. Instead, use a pet-friendly or deck-safe ice melt product.
Storing Furniture and Accessories for Deck Winterization
Outdoor furniture and accessories left on your deck during winter can trap moisture and cause damage. If possible, store your outdoor furniture, rugs, and accessories inside during the winter months. This will prevent moisture from getting trapped underneath and rotting the wood. If you don’t have room to bring everything indoors, cover large furniture with waterproof covers. This will prevent moisture buildup and keep them in good condition for spring.
Regular Inspections During Winter for Deck Winterization
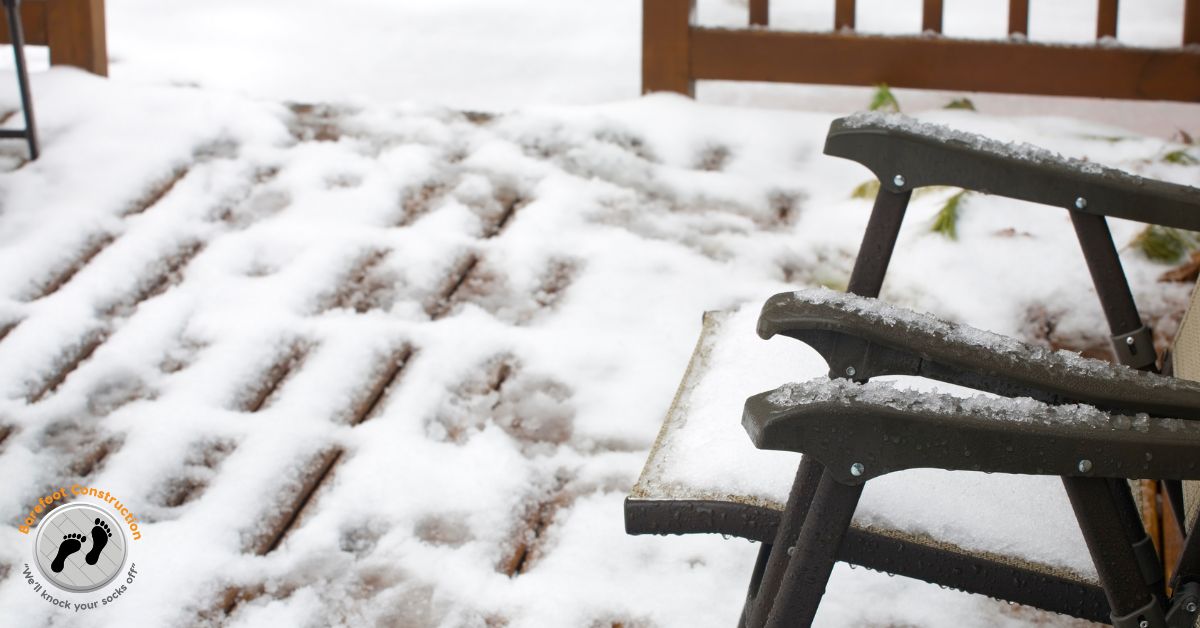 Regular Inspections During Winter for Deck Winterization
Your job isn’t over once the snow starts to fall. Periodic inspections and maintenance during the winter can help you catch problems before they worsen. Keep an eye on ice buildup around your deck’s railings and surface. If too much ice accumulates, it could become heavy enough to cause damage. Don’t let snow sit on your deck for too long. Prolonged exposure to moisture can weaken the sealant and cause issues with the wood.
Preparing for Spring Maintenance After Winter Deck Winterization
Winterizing your deck is all about prevention, but come spring, you’ll need to do some follow-up maintenance. Once the snow melts and the weather warms up, inspect your deck for any new damage. Look for cracks, mold growth, and any sealant that may have worn off. Depending on how your deck held up through the winter, you may need to reapply a coat of sealant in the spring to restore its protective barrier.
Winterizing your deck is essential for maintaining its beauty and longevity. With a little preparation and regular maintenance, your deck will emerge from winter as good as new—ready for you to enjoy during the warmer months. By cleaning, inspecting, sealing, and protecting your deck, you’re ensuring that it remains a safe and enjoyable space for years to come.